
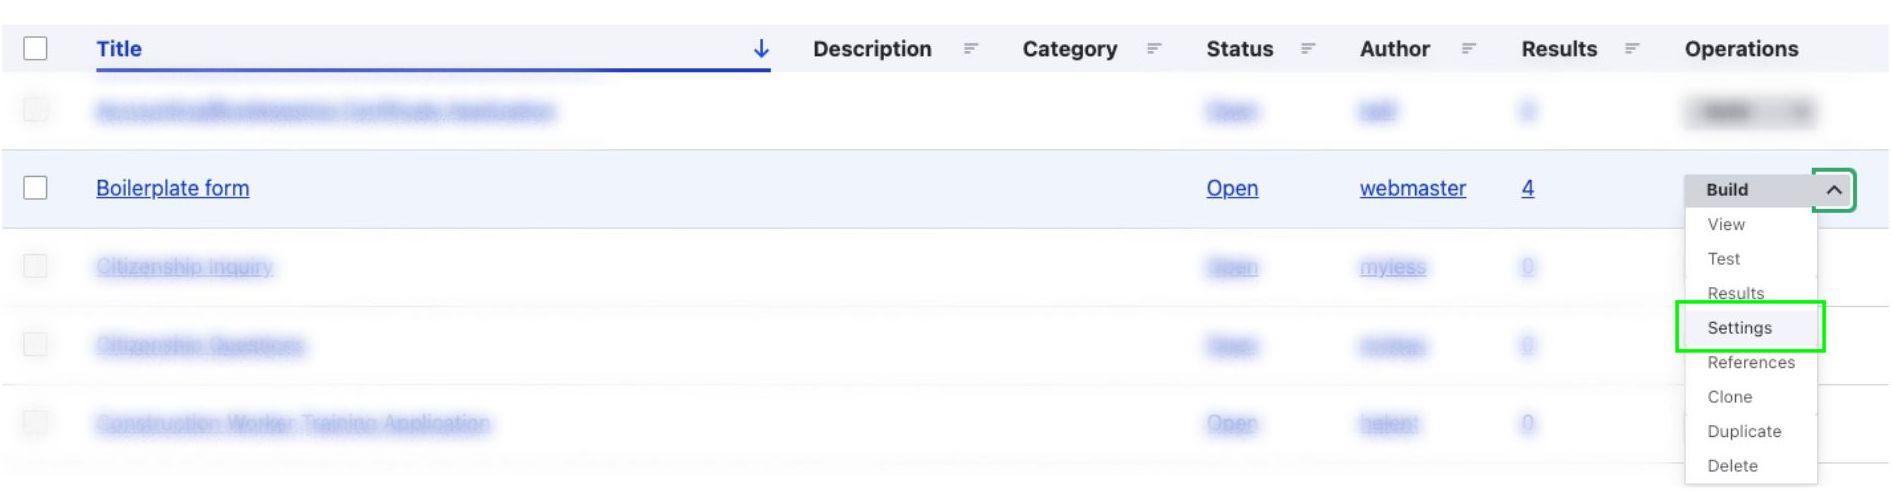
Confirmation Message
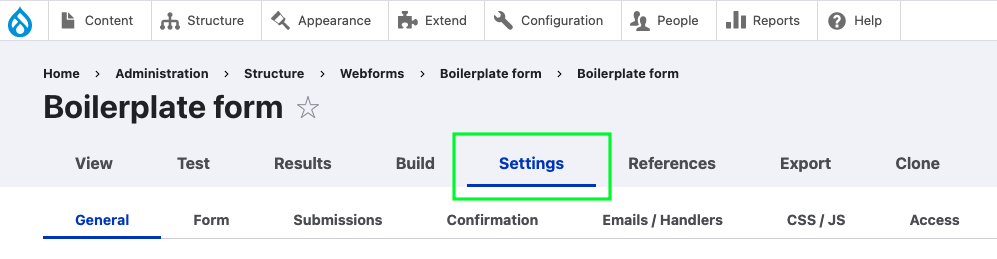
The confirmation message is the message that appears once a user submits the webform. Your webform will automatically have a default confirmation message, but you can customize this message by going to Settings > Confirmation.
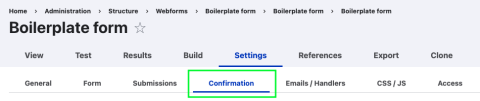
On the Confirmation page, scroll down to Confirmation settings and fill in the following fields:
- Confirmation title: Page title to be shown upon successful submission.
- Confirmation message: Message to be shown upon successful submission.
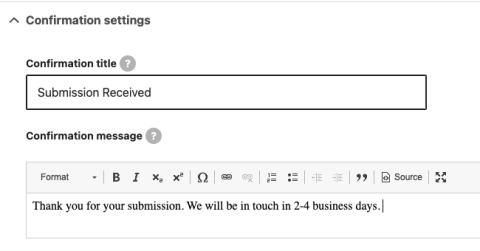
Once you've added a custom confirmation message, scroll to the bottom of the page and click Save.
Emails/Handlers
From this page, you can set up email notifications to be sent when a user has submitted a webform. Set up email notifications under Settings > Emails/Handlers.
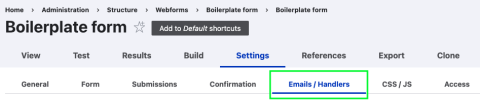
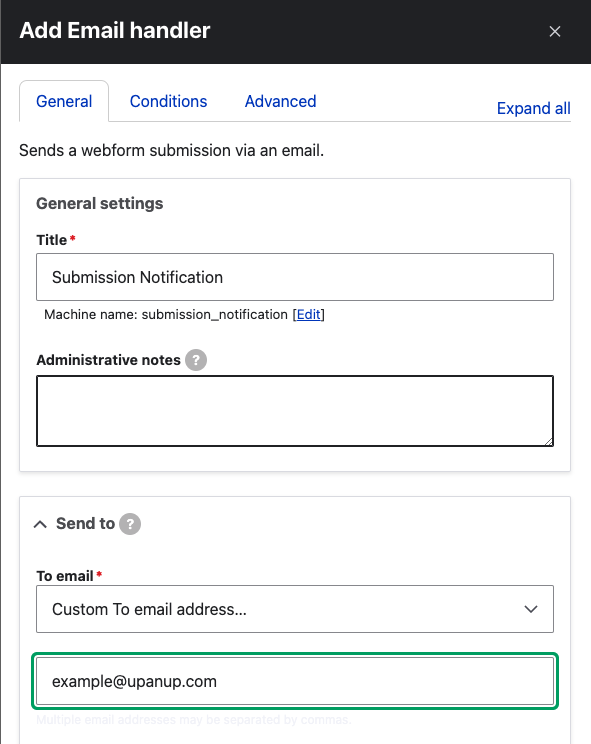
On the Emails/Handlers page, select + Add email. Fill in the following fields and select Save.
General Settings
- Title: Add a descriptive title for your email notification (i.e. Submission Notification).
Send to
- To email: Choose Custom To email address to input a custom email address for submissions to be sent to. Alternatively, if there is an Email element in your webform, you can select Email (email) and the email notification will be sent to the email address that the user input in their webform submission.
- CC email (optional): Select an email address to be CC'd on the submission notification.
- BCC email (optional): Select an email address to be BCC'd on the submission notification.
Leave all other settings as is.
Attachments
- If there are files included in the webform submission, you can check this box to include the files as attachments in the email notification.
Click Save and then click Save handlers.
We want to hear from you!
Our team at Upanup is always striving to make this guide better and more accessible for our clients. We’d love to hear from you, so we can continue to improve this guide.