
Please Note: Screenshots on this page show a site using the Gin Admin Theme. This theme changes the appearance of the admin interface on Drupal, and thus screenshots may look slightly different from your website. However, the Gin Admin Theme doesn't change the process, so following these steps will still work on your site.
Scheduled Transitions allow you to schedule a publishing state change for your content at a future date and time. For example, if your website allows for scheduled transitions, this feature could be used to archive an application form after the application's deadline has passed.
On this page:
Scheduling a Transition
- While logged in as an admin, head to the page you wish to schedule for transition.
Click on the Scheduled Transitions button.
Image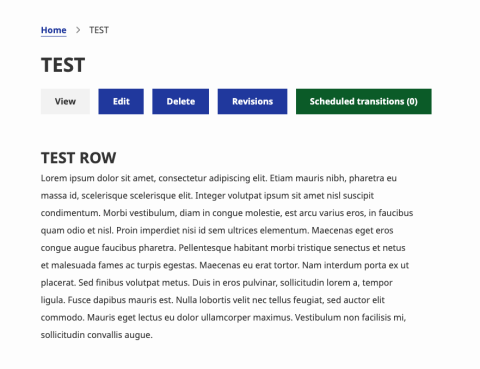
- This takes you to the Schedule transitions screen for that page. From here, click the + Add Scheduled Transition button.
A window will appear showing the different revisions you can schedule for the page. Revisions are shown from newest to oldest. Select the bubble for the revision you would like to schedule a transition for.
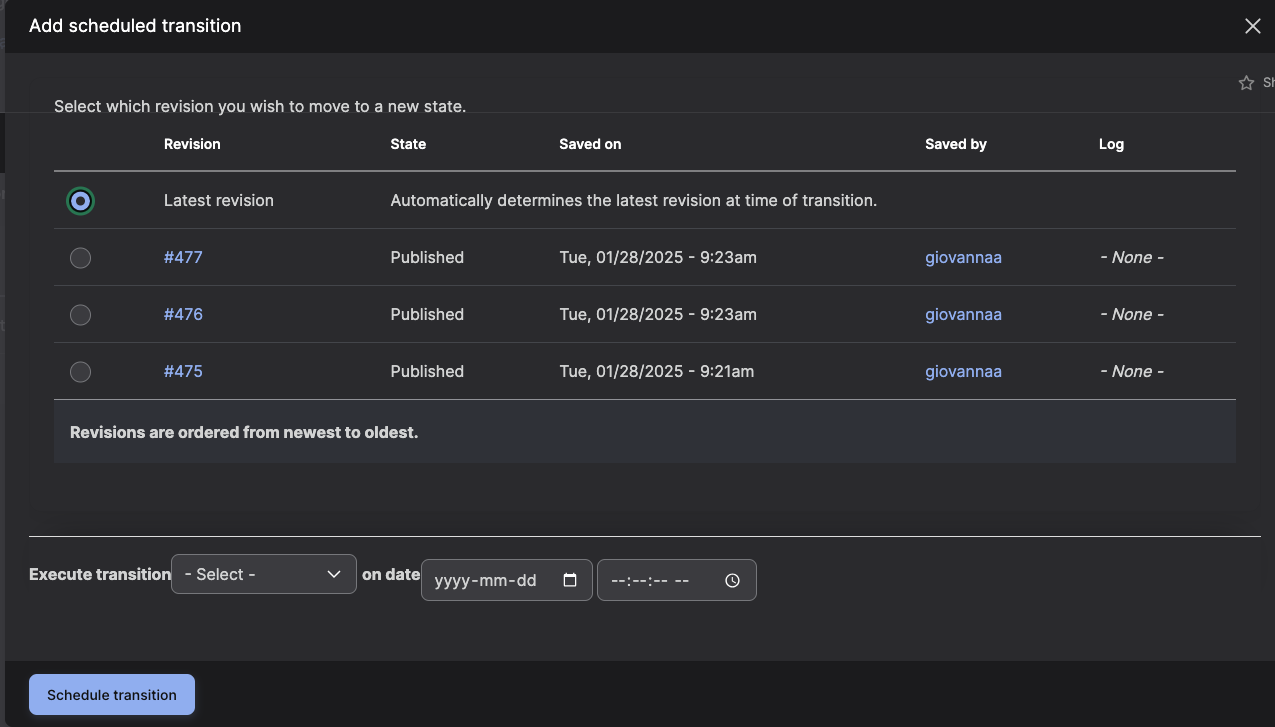
Click the Execute transition drop down menu and select an action.
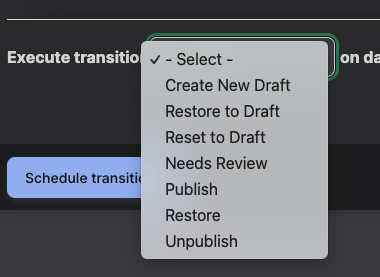
- In some cases, selecting an option will prompt a Recreate pending revision switch. If this option is toggled on, remember to check if there is any pending work before creating the revision. If so, then recreate it. Regardless of choice, revisions are safely retained in history, and can be reverted manually.
After selecting a transition, choose a date and time for it to take place.
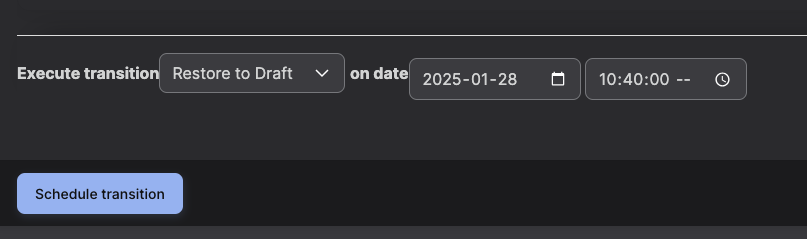
- Click the Schedule transition button to apply the selected changes.
Rescheduling or Deleting a Transition
- To reschedule or delete a transition, head to the Scheduled Transitions screen of the page you would like to edit the transitions of.
- Alternatively, you can also access all scheduled transitions by navigating the admin toolbar Content > Scheduled Transitions.
From this list, select the transition you wish to reschedule or delete by clicking the drop-down menu under the Operations column.
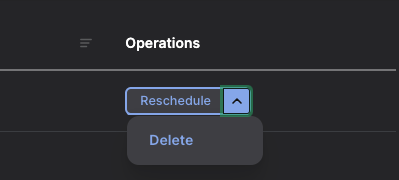
If you choose Reschedule, an option menu will appear allowing you to change the date for when the transition will be executed. After inputting the new date, click on the Reschedule transition button to apply the changes.
Image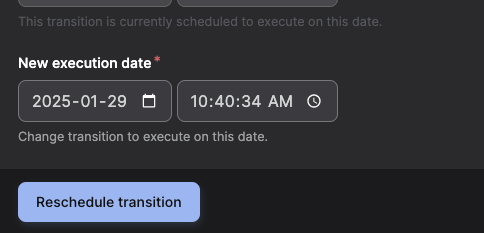
If you choose Delete, you will be asked to confirm deleting the scheduled transition. Click on Delete to confirm the scheduled transition deletion.
Image